Shadowsovietcommander (talk | contribs) m (Changed version number) |
m (→Game Settings) Tag: Visual edit |
||
| (38 intermediate revisions by 13 users not shown) | |||
| Line 1: | Line 1: | ||
| − | {{Mod-Infobox|image=useries.jpg|version=4.0|designer=Finalizer|quan=31}} |
+ | {{Mod-Infobox|image=useries.jpg|version=4.0|designer=Finalizer|quan=31|mod_code=useries}} |
[[File:U-SeriesShipTree.png|right|frameless|387x387px]] |
[[File:U-SeriesShipTree.png|right|frameless|387x387px]] |
||
| − | '''U-Series''' is a modded version of Team Mode developed by Finalizer. The U-Series is an entire ship tree based off of the Vanilla mode '''Tier 5 [[U-Sniper]]''' ship model. Currently the most popular mod in Modding Space, U-Series gameplay is incredibly fast-paced, strategic, and intense, with rounds lasting an average of 30 minutes. The maps in this game mode are handpicked by Finalizer, with most being high density, leaving just a handful of sparse maps. |
+ | '''U-Series''' is a modded version of Team Mode developed by Finalizer. The U-Series is an entire ship tree based off of the Vanilla mode '''Tier 5 [[U-Sniper]]''' ship model. Currently the most popular mod in Modding Space, U-Series gameplay is incredibly fast-paced, strategic, and intense, with rounds lasting an average of 30 minutes (some rounds are 10 minutes long, and some are 45 or even 60). The maps in this game mode are handpicked by Finalizer, with most being high density, leaving just a handful of sparse maps. |
| + | |||
| + | Just like in vanilla mode, the ship upgrades are very steep and are even more steep at the higher levels. A maxed [[U-Quad]] (tier 2) can one-shot an unupgraded [[U-Monitor]] or [[U-Afterburn]] (tier 6), similar to how a maxed [[Pulse-Fighter]] (tier 3) can easily kill unupgraded tier 6 ships in vanilla, but faster. As another example, the [[Scorpion]] and [[Condor]] shield upgrades from 225 to 400 (about 1.8x), and the [[U-Center]] shield upgrades from 400 to 700 (also around 1.8x). |
||
| + | |||
| + | The Tier 6 ships are especially overpowered, making the jump from Tier 5 to 6 very significant compared to other tier jumps. In fact, the Tier 6 ships are so OP that the Tier 7 ships are actually downgrades. |
||
| + | |||
| + | There are three categories of major play styles (Tier 3-6 ships fall into these categories): |
||
| + | |||
| + | * Mining ([[U-Penta]], [[U-Spread]], [[U-Center]], [[U-Octa]], [[U-Perimeter]]) |
||
| + | |||
| + | These ships are tanky, with large mass (ram damage) and shield capacity and regen. They are the best ships to use, because they are terrific at mining, fighting, and destroying bases, thanks to their high DPS, although they have low burst damage. |
||
| + | |||
| + | * Hit-and-Run (Speedster) (all ships with a cannon on the back to move quickly) |
||
| + | |||
| + | These ships fire medium to large damage pulses from the front, typically have high energy and shield regen, and employ the use of back firing lasers. When using these ships, never get in a prolonged close quarters fight unless the opponent is low on shield. These ships are adequate miners, though not as good as those in the miner branch. |
||
| + | |||
| + | * Assault (all other ships not listed above) |
||
| + | |||
| + | These are the end-game ships and attackers. Capable of dealing large DPS and burst damage, when starting out they have low agility and are terrible miners (except the [[U-Siege]] and the [[H-Destroyer]](because it is a better version of the u-siege)), but they become more capable as upgraded. They typically have either low shield or low shield regen compared to other ships, but make up for it in sheer burst damage. |
||
| + | |||
| + | == Game Settings == |
||
| + | U-Series is a [[Team Mode]] based mod: |
||
| + | |||
| + | *There are only 2 teams, instead of 3. |
||
| + | *Ships start with 5 lives, instead of 4. |
||
| + | *The map is quite big, with a map size of 90. |
||
| + | *The map is randomly picked from one of 78 patterns. |
||
| + | *Asteroids give 0.6x gems compared to regular team mode, 1.2x compared to survival. |
||
| + | *The music is argon.mp3. |
||
== Game Mechanics== |
== Game Mechanics== |
||
'''Healing Lasers'''- This is a new mechanic added to team mode that changed the way many people played the game! This update made more people think more tactically. This update leads to many players helping teammates by healing them. To heal you need to go to the station depot and click on the option where it says "Healing" when this is done your lasers turn into much more of a fun and laser which shows "+" when you heal a player. The amount the player gets healed by is determined by your ship and its stats. The game mechanic allows players to act more as a group and stops the problem with people flying solo and killing the whole team. Healing gives points in team mode thanks to the october 2019 update. Also the best healer is recognized in a team. The best miner and the best killer will also be recognized. |
'''Healing Lasers'''- This is a new mechanic added to team mode that changed the way many people played the game! This update made more people think more tactically. This update leads to many players helping teammates by healing them. To heal you need to go to the station depot and click on the option where it says "Healing" when this is done your lasers turn into much more of a fun and laser which shows "+" when you heal a player. The amount the player gets healed by is determined by your ship and its stats. The game mechanic allows players to act more as a group and stops the problem with people flying solo and killing the whole team. Healing gives points in team mode thanks to the october 2019 update. Also the best healer is recognized in a team. The best miner and the best killer will also be recognized. |
||
| − | '''Gem-Transfer'''- This is a new mechanic added to team mode that allows players to drop gems for other teammates! This update furthermore allowed players to think as one and to play as one as there is no "I" in TEAM! This mechanic is done by holding "V" which allows you to drop gems by the amount you need to upgrade each stat such as a t3 can only drop 15 gems while a t6 can drop 30 gems! This is a very good strategy in team mode as you can help teammates that need gems so they can upgrade get gems and help your team get ready for danger and be prepared for opponents. This mechanic added more thought into the games and more fun things to do. |
+ | '''Gem-Transfer'''- This is a new mechanic added to team mode that allows players to drop gems for other teammates! This update furthermore allowed players to think as one and to play as one as there is no "I" in TEAM! This mechanic is done by holding "V" which allows you to drop gems by the amount you need to upgrade each stat such as a t3 can only drop 15 gems at a time while a t6 can drop 30 gems! This is a very good strategy in team mode as you can help teammates that need gems so they can upgrade, get gems and help your team get ready for danger and be prepared for opponents. This mechanic added more thought into the games and more fun things to do. Note: Gem transferring does not give points, and you may have to deal with the lazy ass gem stealers in every game. If you want to give to a specific ship, its good to first press Y>F>E. (you, follow, me). This tells them to follow you. lead them to a place with few ships, then give the gems. |
'''Ship Rescues'''- This was a mechanic added to team mode just before the first [[Alpha Centauri Wars]] as a way for players to return to the game on the same team after disconnecting or leaving. If the player leaves the game while in a gem depot they will not lose their ship, credits, secondaries or points. If done outside of a depot, the player still keeps their ship upon their return(Assuming the player had extra lives), but it counts as a death. |
'''Ship Rescues'''- This was a mechanic added to team mode just before the first [[Alpha Centauri Wars]] as a way for players to return to the game on the same team after disconnecting or leaving. If the player leaves the game while in a gem depot they will not lose their ship, credits, secondaries or points. If done outside of a depot, the player still keeps their ship upon their return(Assuming the player had extra lives), but it counts as a death. |
||
| Line 19: | Line 47: | ||
!Ship Name |
!Ship Name |
||
!Upgrades From |
!Upgrades From |
||
| − | !Upgrades To |
+ | !Upgrades To |
!Picture |
!Picture |
||
|- |
|- |
||
| Line 28: | Line 56: | ||
|[[File:U-Sniper MK 2.png|link=U-Sniper MK 2|center|200px]] |
|[[File:U-Sniper MK 2.png|link=U-Sniper MK 2|center|200px]] |
||
|} |
|} |
||
| + | |||
===Tier 2=== |
===Tier 2=== |
||
{| class="wikitable" width="100%" |
{| class="wikitable" width="100%" |
||
| Line 38: | Line 67: | ||
| rowspan="2" |[[U-Sniper MK 2]] |
| rowspan="2" |[[U-Sniper MK 2]] |
||
|[[U-Penta]], [[U-Spread]] |
|[[U-Penta]], [[U-Spread]] |
||
| − | |[[File:U-Cruiser.png|link= |
+ | |[[File:U-Cruiser.png|link=U-Cruiser|center|200px]] |
|- |
|- |
||
|[[U-Quad]] |
|[[U-Quad]] |
||
|[[H-Warrior]], [[U-Sentry]] |
|[[H-Warrior]], [[U-Sentry]] |
||
| − | |[[File:U-Quad.png|link= |
+ | |[[File:U-Quad.png|link=U-Quad|center|200x200px]] |
|} |
|} |
||
| Line 55: | Line 84: | ||
| rowspan="2" |[[U-Cruiser]] |
| rowspan="2" |[[U-Cruiser]] |
||
|[[U-Arsenal]], [[U-Center]] |
|[[U-Arsenal]], [[U-Center]] |
||
| − | |[[File:U-Penta.png|link= |
+ | |[[File:U-Penta.png|link=U-Penta|center|200px]] |
|- |
|- |
||
|[[U-Spread]] |
|[[U-Spread]] |
||
|[[U-Center]], [[U-Interceptor]] |
|[[U-Center]], [[U-Interceptor]] |
||
| − | |[[File:U-Spread.png|link= |
+ | |[[File:U-Spread.png|link=U-Spread|center|200px]] |
|- |
|- |
||
|[[H-Warrior]] |
|[[H-Warrior]] |
||
| rowspan="2" |[[U-Quad]] |
| rowspan="2" |[[U-Quad]] |
||
|[[U-Interceptor]], [[U-Speeder]] |
|[[U-Interceptor]], [[U-Speeder]] |
||
| − | |[[File:H-Warrior.png|link= |
+ | |[[File:H-Warrior.png|link=H-Warrior|center|200px]] |
|- |
|- |
||
|[[U-Sentry]] |
|[[U-Sentry]] |
||
|[[U-Speeder]], [[U-Siege]] |
|[[U-Speeder]], [[U-Siege]] |
||
| − | |[[File:U-Sentry.png|link= |
+ | |[[File:U-Sentry.png|link=U-Sentry|center|200px]] |
|} |
|} |
||
| Line 81: | Line 110: | ||
|[[U-Penta]] |
|[[U-Penta]] |
||
|[[U-Punisher]], [[U-Octa]] |
|[[U-Punisher]], [[U-Octa]] |
||
| − | |[[File:U-Arsenal.png|link= |
+ | |[[File:U-Arsenal.png|link=U-Arsenal|center|200px]] |
|- |
|- |
||
|[[U-Center]] |
|[[U-Center]] |
||
|[[U-Penta]], [[U-Spread]] |
|[[U-Penta]], [[U-Spread]] |
||
|[[U-Octa]], [[H-Destroyer]] |
|[[U-Octa]], [[H-Destroyer]] |
||
| − | |[[File:U-Center.png|link= |
+ | |[[File:U-Center.png|link=U-Center|center|200px]] |
|- |
|- |
||
|[[U-Interceptor]] |
|[[U-Interceptor]] |
||
|[[U-Spread]], [[H-Warrior]] |
|[[U-Spread]], [[H-Warrior]] |
||
|[[H-Destroyer]], [[Trailblazer]] |
|[[H-Destroyer]], [[Trailblazer]] |
||
| − | |[[File:U-Interceptor.png|link= |
+ | |[[File:U-Interceptor.png|link=U-Interceptor|center|200px]] |
|- |
|- |
||
|[[U-Speeder]] |
|[[U-Speeder]] |
||
|[[H-Warrior]], [[U-Sentry]] |
|[[H-Warrior]], [[U-Sentry]] |
||
|[[Trailblazer]], [[U-Demon]] |
|[[Trailblazer]], [[U-Demon]] |
||
| − | |[[File:U-Speeder.png|link= |
+ | |[[File:U-Speeder.png|link=U-Speeder|center|200px]] |
|- |
|- |
||
|[[U-Siege]] |
|[[U-Siege]] |
||
|[[U-Sentry]] |
|[[U-Sentry]] |
||
|[[U-Demon]], [[U-Pulsar]] |
|[[U-Demon]], [[U-Pulsar]] |
||
| − | |[[File:U-Siege.png|link= |
+ | |[[File:U-Siege.png|link=U-Siege|center|200px]] |
|} |
|} |
||
| Line 114: | Line 143: | ||
|[[U-Arsenal]] |
|[[U-Arsenal]] |
||
|[[U-Barricade]], [[U-Monitor]] |
|[[U-Barricade]], [[U-Monitor]] |
||
| − | |[[File:U-Punisher.png|link= |
+ | |[[File:U-Punisher.png|link=U-Punisher|center|200px]] |
|- |
|- |
||
|[[U-Octa]] |
|[[U-Octa]] |
||
|[[U-Arsenal]], [[U-Center]] |
|[[U-Arsenal]], [[U-Center]] |
||
|[[U-Monitor]], [[U-Perimeter]] |
|[[U-Monitor]], [[U-Perimeter]] |
||
| − | |[[File:U-Octa.png|link= |
+ | |[[File:U-Octa.png|link=U-Octa|center|200px]] |
|- |
|- |
||
|[[H-Destroyer]] |
|[[H-Destroyer]] |
||
|[[U-Center]], [[U-Interceptor]] |
|[[U-Center]], [[U-Interceptor]] |
||
|[[U-Perimeter]], [[U-Bruiser]] |
|[[U-Perimeter]], [[U-Bruiser]] |
||
| − | |[[File:H-Destroyer.png|link= |
+ | |[[File:H-Destroyer.png|link=H-Destroyer|center|200px]] |
|- |
|- |
||
|[[Trailblazer]] |
|[[Trailblazer]] |
||
|[[U-Interceptor]], [[U-Speeder]] |
|[[U-Interceptor]], [[U-Speeder]] |
||
|[[U-Afterburn]], [[U-Smasher]] |
|[[U-Afterburn]], [[U-Smasher]] |
||
| − | |[[File:Trailblazer.png|link= |
+ | |[[File:Trailblazer.png|link=Trailblazer|center|200px]] |
|- |
|- |
||
|[[U-Demon]] |
|[[U-Demon]] |
||
|[[U-Speeder]], [[U-Siege]] |
|[[U-Speeder]], [[U-Siege]] |
||
|[[U-Smasher]], [[Hellfire]] |
|[[U-Smasher]], [[Hellfire]] |
||
| − | |[[File:U-Demon.png|link= |
+ | |[[File:U-Demon.png|link=U-Demon|center|200px]] |
|- |
|- |
||
|[[U-Pulsar]] |
|[[U-Pulsar]] |
||
|[[U-Siege]] |
|[[U-Siege]] |
||
|[[Hellfire]], [[U-10 Thunder]] |
|[[Hellfire]], [[U-10 Thunder]] |
||
| − | |[[File:U-Pulsar.png|link= |
+ | |[[File:U-Pulsar.png|link=U-Pulsar|center|200px]] |
|} |
|} |
||
| Line 152: | Line 181: | ||
|[[U-Punisher]] |
|[[U-Punisher]] |
||
| rowspan="2" |[[U-Wall]], [[Heartbreaker]] |
| rowspan="2" |[[U-Wall]], [[Heartbreaker]] |
||
| − | |[[File:U-Barricade.png|link= |
+ | |[[File:U-Barricade.png|link=U-Barricade|center|300px]] |
|- |
|- |
||
|[[U-Monitor]] |
|[[U-Monitor]] |
||
|[[U-Punisher]], [[U-Octa]] |
|[[U-Punisher]], [[U-Octa]] |
||
| − | |[[File:U-Monitor.png|link= |
+ | |[[File:U-Monitor.png|link=U-Monitor|center|300px]] |
|- |
|- |
||
|[[U-Perimeter]] |
|[[U-Perimeter]] |
||
|[[U-Octa]], [[H-Destroyer]] |
|[[U-Octa]], [[H-Destroyer]] |
||
| rowspan="2" |[[Heartbreaker]], [[U-Fusion]] |
| rowspan="2" |[[Heartbreaker]], [[U-Fusion]] |
||
| − | |[[File:U-Perimeter.png|link= |
+ | |[[File:U-Perimeter.png|link=U-Perimeter|center|300px]] |
|- |
|- |
||
|[[U-Bruiser|U-]] |
|[[U-Bruiser|U-]] |
||
[[U-Bruiser|Bruiser]] |
[[U-Bruiser|Bruiser]] |
||
|[[H-Destroyer]] |
|[[H-Destroyer]] |
||
| − | |[[File:U-Bruiser.png|link= |
+ | |[[File:U-Bruiser.png|link=U-Bruiser|center|300px]] |
|- |
|- |
||
|[[U-Afterburn]] |
|[[U-Afterburn]] |
||
|[[Trailblazer]] |
|[[Trailblazer]] |
||
| rowspan="2" |[[U-Fusion]], [[U-Marksman]] |
| rowspan="2" |[[U-Fusion]], [[U-Marksman]] |
||
| − | |[[File:U-Afterburn.png|link= |
+ | |[[File:U-Afterburn.png|link=U-Afterburn|center|300px]] |
|- |
|- |
||
|[[U-Smasher]] |
|[[U-Smasher]] |
||
|[[Trailblazer]], [[U-Demon]] |
|[[Trailblazer]], [[U-Demon]] |
||
| − | |[[File:U-Smasher.png|link= |
+ | |[[File:U-Smasher.png|link=U-Smasher|center|300px]] |
|- |
|- |
||
|[[Hellfire]] |
|[[Hellfire]] |
||
|[[U-Demon]], [[U-Pulsar]] |
|[[U-Demon]], [[U-Pulsar]] |
||
| rowspan="2" |[[U-Marksman]], [[Shadow X-27]] |
| rowspan="2" |[[U-Marksman]], [[Shadow X-27]] |
||
| − | |[[File:Hellfire.png|link= |
+ | |[[File:Hellfire.png|link=Hellfire|center|300px]] |
|- |
|- |
||
|[[U-10 Thunder]] |
|[[U-10 Thunder]] |
||
|[[U-Pulsar]] |
|[[U-Pulsar]] |
||
| − | |[[File:U-10_Thunder.png|link= |
+ | |[[File:U-10_Thunder.png|link=U-10_Thunder|center|300px]] |
|} |
|} |
||
| Line 197: | Line 226: | ||
|[[U-Barricade]], [[U-Monitor]] |
|[[U-Barricade]], [[U-Monitor]] |
||
| rowspan="5" |N/A |
| rowspan="5" |N/A |
||
| − | |[[File:U-Wall.png|link= |
+ | |[[File:U-Wall.png|link=U-Wall|center|400px]] |
|- |
|- |
||
|[[Heartbreaker]] |
|[[Heartbreaker]] |
||
|[[U-Barricade]], [[U-Monitor]], [[U-Perimeter]], [[U-Bruiser]] |
|[[U-Barricade]], [[U-Monitor]], [[U-Perimeter]], [[U-Bruiser]] |
||
| − | |[[File:Heartbreaker.png|link= |
+ | |[[File:Heartbreaker.png|link=Heartbreaker|center|400px]] |
|- |
|- |
||
|[[U-Fusion]] |
|[[U-Fusion]] |
||
|[[U-Perimeter]], [[U-Bruiser]], [[U-Afterburn]], [[U-Smasher]] |
|[[U-Perimeter]], [[U-Bruiser]], [[U-Afterburn]], [[U-Smasher]] |
||
| − | |[[File:U-Fusion.png|link= |
+ | |[[File:U-Fusion-current.png|link=U-Fusion|center|400px]] |
|- |
|- |
||
|[[U-Marksman]] |
|[[U-Marksman]] |
||
|[[U-Afterburn]], [[U-Smasher]], [[Hellfire]], [[U-10 Thunder]] |
|[[U-Afterburn]], [[U-Smasher]], [[Hellfire]], [[U-10 Thunder]] |
||
| − | |[[File:U-Marksman.png|link= |
+ | |[[File:U-Marksman.png|link=U-Marksman|center|400px]] |
|- |
|- |
||
|[[Shadow X-27]] |
|[[Shadow X-27]] |
||
|[[Hellfire]], [[U-10 Thunder]] |
|[[Hellfire]], [[U-10 Thunder]] |
||
| − | |[[File:Shadow_X-27.png|link= |
+ | |[[File:Shadow_X-27.png|link=Shadow_X-27|center|400px]] |
| + | |} |
||
| + | === Removed ships === |
||
| + | {| class="wikitable" width="100%" |
||
| + | !Ship Name |
||
| + | !Tier |
||
| + | !Picture |
||
| + | |- |
||
| + | |[[U-Vengeance]] |
||
| + | |7 |
||
| + | |[[File:U-Vengeance.png|link=U-Vengeance|center|400px]] |
||
|} |
|} |
||
| Line 225: | Line 264: | ||
File:Spawn2.PNG |
File:Spawn2.PNG |
||
File:Turkeys and waifu.png |
File:Turkeys and waifu.png |
||
| + | File:Aquahmerctoscain.png |
||
| + | File:Double Borg Cube.png |
||
</gallery> |
</gallery> |
||
[[Category:Modes]] |
[[Category:Modes]] |
||
Revision as of 03:38, 22 July 2021
| U-Series | |
|---|---|
| |
| Mod Information | |
| Mod Version | 4.0 |
| Creator | Finalizer |
| Number of ships | 31 |
| Mod code | Click here |

U-Series is a modded version of Team Mode developed by Finalizer. The U-Series is an entire ship tree based off of the Vanilla mode Tier 5 U-Sniper ship model. Currently the most popular mod in Modding Space, U-Series gameplay is incredibly fast-paced, strategic, and intense, with rounds lasting an average of 30 minutes (some rounds are 10 minutes long, and some are 45 or even 60). The maps in this game mode are handpicked by Finalizer, with most being high density, leaving just a handful of sparse maps.
Just like in vanilla mode, the ship upgrades are very steep and are even more steep at the higher levels. A maxed U-Quad (tier 2) can one-shot an unupgraded U-Monitor or U-Afterburn (tier 6), similar to how a maxed Pulse-Fighter (tier 3) can easily kill unupgraded tier 6 ships in vanilla, but faster. As another example, the Scorpion and Condor shield upgrades from 225 to 400 (about 1.8x), and the U-Center shield upgrades from 400 to 700 (also around 1.8x).
The Tier 6 ships are especially overpowered, making the jump from Tier 5 to 6 very significant compared to other tier jumps. In fact, the Tier 6 ships are so OP that the Tier 7 ships are actually downgrades.
There are three categories of major play styles (Tier 3-6 ships fall into these categories):
- Mining (U-Penta, U-Spread, U-Center, U-Octa, U-Perimeter)
These ships are tanky, with large mass (ram damage) and shield capacity and regen. They are the best ships to use, because they are terrific at mining, fighting, and destroying bases, thanks to their high DPS, although they have low burst damage.
- Hit-and-Run (Speedster) (all ships with a cannon on the back to move quickly)
These ships fire medium to large damage pulses from the front, typically have high energy and shield regen, and employ the use of back firing lasers. When using these ships, never get in a prolonged close quarters fight unless the opponent is low on shield. These ships are adequate miners, though not as good as those in the miner branch.
- Assault (all other ships not listed above)
These are the end-game ships and attackers. Capable of dealing large DPS and burst damage, when starting out they have low agility and are terrible miners (except the U-Siege and the H-Destroyer(because it is a better version of the u-siege)), but they become more capable as upgraded. They typically have either low shield or low shield regen compared to other ships, but make up for it in sheer burst damage.
Game Settings
U-Series is a Team Mode based mod:
- There are only 2 teams, instead of 3.
- Ships start with 5 lives, instead of 4.
- The map is quite big, with a map size of 90.
- The map is randomly picked from one of 78 patterns.
- Asteroids give 0.6x gems compared to regular team mode, 1.2x compared to survival.
- The music is argon.mp3.
Game Mechanics
Healing Lasers- This is a new mechanic added to team mode that changed the way many people played the game! This update made more people think more tactically. This update leads to many players helping teammates by healing them. To heal you need to go to the station depot and click on the option where it says "Healing" when this is done your lasers turn into much more of a fun and laser which shows "+" when you heal a player. The amount the player gets healed by is determined by your ship and its stats. The game mechanic allows players to act more as a group and stops the problem with people flying solo and killing the whole team. Healing gives points in team mode thanks to the october 2019 update. Also the best healer is recognized in a team. The best miner and the best killer will also be recognized.
Gem-Transfer- This is a new mechanic added to team mode that allows players to drop gems for other teammates! This update furthermore allowed players to think as one and to play as one as there is no "I" in TEAM! This mechanic is done by holding "V" which allows you to drop gems by the amount you need to upgrade each stat such as a t3 can only drop 15 gems at a time while a t6 can drop 30 gems! This is a very good strategy in team mode as you can help teammates that need gems so they can upgrade, get gems and help your team get ready for danger and be prepared for opponents. This mechanic added more thought into the games and more fun things to do. Note: Gem transferring does not give points, and you may have to deal with the lazy ass gem stealers in every game. If you want to give to a specific ship, its good to first press Y>F>E. (you, follow, me). This tells them to follow you. lead them to a place with few ships, then give the gems.
Ship Rescues- This was a mechanic added to team mode just before the first Alpha Centauri Wars as a way for players to return to the game on the same team after disconnecting or leaving. If the player leaves the game while in a gem depot they will not lose their ship, credits, secondaries or points. If done outside of a depot, the player still keeps their ship upon their return(Assuming the player had extra lives), but it counts as a death.
Gem-Stealing Countermeasure-This was a mechanic added to team mode to help prevent gem stealing when mining. Before this was added, when an asteroid was destroyed anyone could come and immediately pick up the gems, leading to teammates fighting over gems from asteroids and taking gems from an asteroid they didn't mine themselves. With this mechanic only the person who dealt the most damage to an asteroid can pick up the gems immediately; other players will need to wait 2 seconds until the game allows them to pick the gems up themselves. While it drastically reduced cases of teammates gem-stealing, it is still possible to occasionally gem-steal if you are a heavier ship and you knock your teammate away from the gems they just mined.
Ships
There are 31 ships in U-Series, according to the scheme of 1-2-4-5-6-8-5. As all ships are based off the U-Sniper, they are all capable of dealing insane amounts of damage but lack shields, making even low tier ships capable of destroying some high tier ships quickly. There are a considerable amount of ships in this mod that use back-firing lasers to propel themselves at insane speeds.
Tier 1
| Ship Name | Upgrades From | Upgrades To | Picture |
|---|---|---|---|
| U-Sniper MK 2 | N/A | U-Cruiser, |  |
Tier 2
| Ship Name | Upgrades From | Upgrades To | Picture |
|---|---|---|---|
| U-Cruiser | U-Sniper MK 2 | U-Penta, U-Spread |  |
| U-Quad | H-Warrior, U-Sentry |  |
Tier 3
| Ship Name | Upgrades From | Upgrades To | Picture |
|---|---|---|---|
| U-Penta | U-Cruiser | U-Arsenal, U-Center |  |
| U-Spread | U-Center, U-Interceptor |  | |
| H-Warrior | U-Quad | U-Interceptor, U-Speeder |  |
| U-Sentry | U-Speeder, U-Siege |  |
Tier 4
| Ship Name | Upgrades From | Upgrades To | Picture |
|---|---|---|---|
| U-Arsenal | U-Penta | U-Punisher, U-Octa |  |
| U-Center | U-Penta, U-Spread | U-Octa, H-Destroyer | 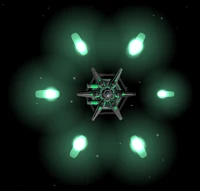 |
| U-Interceptor | U-Spread, H-Warrior | H-Destroyer, Trailblazer | 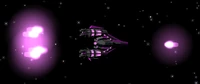 |
| U-Speeder | H-Warrior, U-Sentry | Trailblazer, U-Demon |  |
| U-Siege | U-Sentry | U-Demon, U-Pulsar | 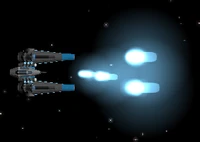 |
Tier 5
| Ship Name | Upgrades From | Upgrades To | Picture |
|---|---|---|---|
| U-Punisher | U-Arsenal | U-Barricade, U-Monitor | 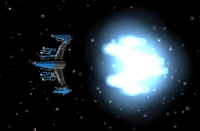 |
| U-Octa | U-Arsenal, U-Center | U-Monitor, U-Perimeter |  |
| H-Destroyer | U-Center, U-Interceptor | U-Perimeter, U-Bruiser |  |
| Trailblazer | U-Interceptor, U-Speeder | U-Afterburn, U-Smasher |  |
| U-Demon | U-Speeder, U-Siege | U-Smasher, Hellfire |  |
| U-Pulsar | U-Siege | Hellfire, U-10 Thunder |  |
Tier 6
| Ship Name | Upgrades From | Upgrades To | Picture |
|---|---|---|---|
| U-Barricade | U-Punisher | U-Wall, Heartbreaker |  |
| U-Monitor | U-Punisher, U-Octa |  | |
| U-Perimeter | U-Octa, H-Destroyer | Heartbreaker, U-Fusion |  |
| U- | H-Destroyer |  | |
| U-Afterburn | Trailblazer | U-Fusion, U-Marksman |  |
| U-Smasher | Trailblazer, U-Demon |  | |
| Hellfire | U-Demon, U-Pulsar | U-Marksman, Shadow X-27 |  |
| U-10 Thunder | U-Pulsar |  |
Tier 7
| Ship Name | Upgrades From | Upgrades To | Picture |
|---|---|---|---|
| U-Wall | U-Barricade, U-Monitor | N/A |  |
| Heartbreaker | U-Barricade, U-Monitor, U-Perimeter, U-Bruiser |  | |
| U-Fusion | U-Perimeter, U-Bruiser, U-Afterburn, U-Smasher |  | |
| U-Marksman | U-Afterburn, U-Smasher, Hellfire, U-10 Thunder |  | |
| Shadow X-27 | Hellfire, U-10 Thunder |  |
Removed ships
| Ship Name | Tier | Picture |
|---|---|---|
| U-Vengeance | 7 |  |
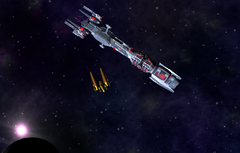
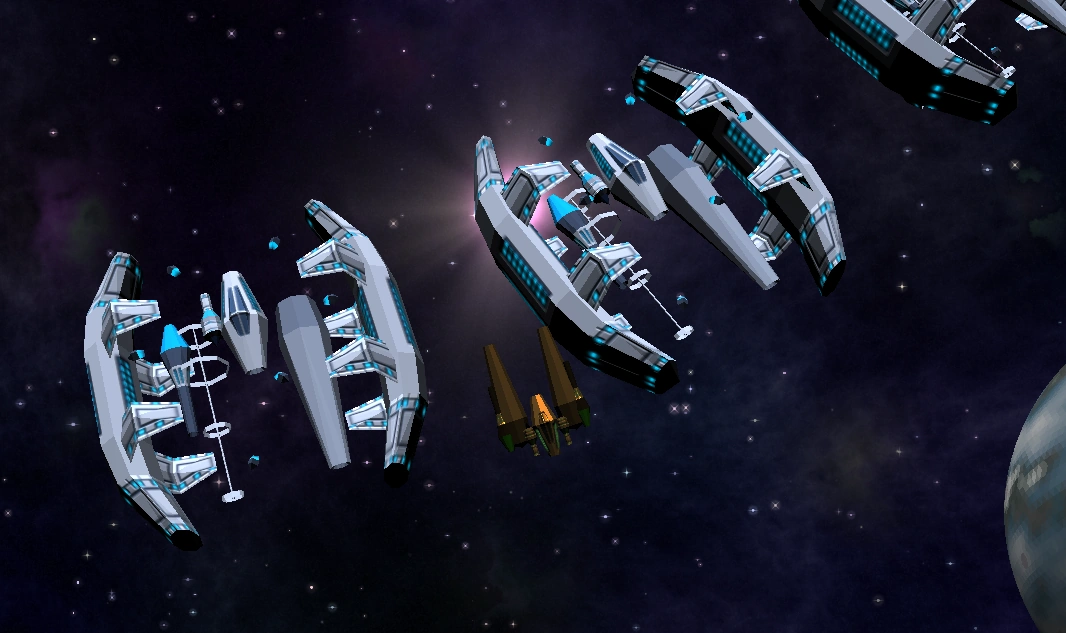
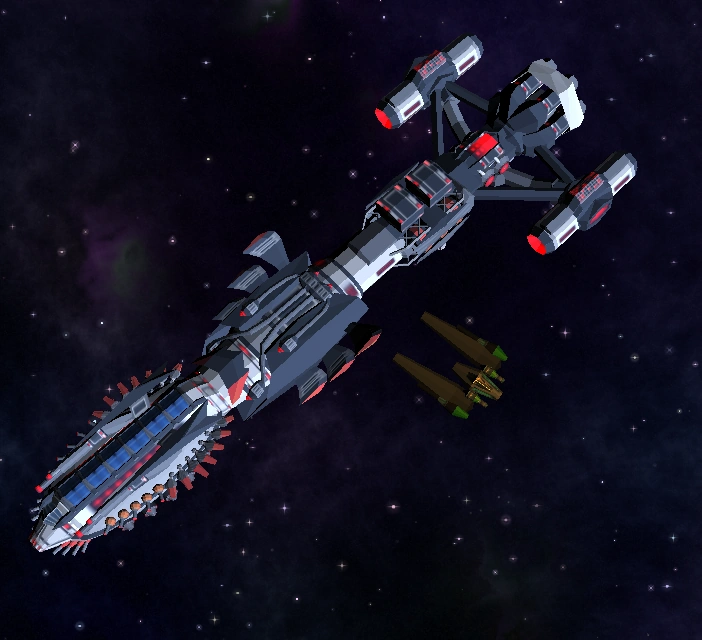
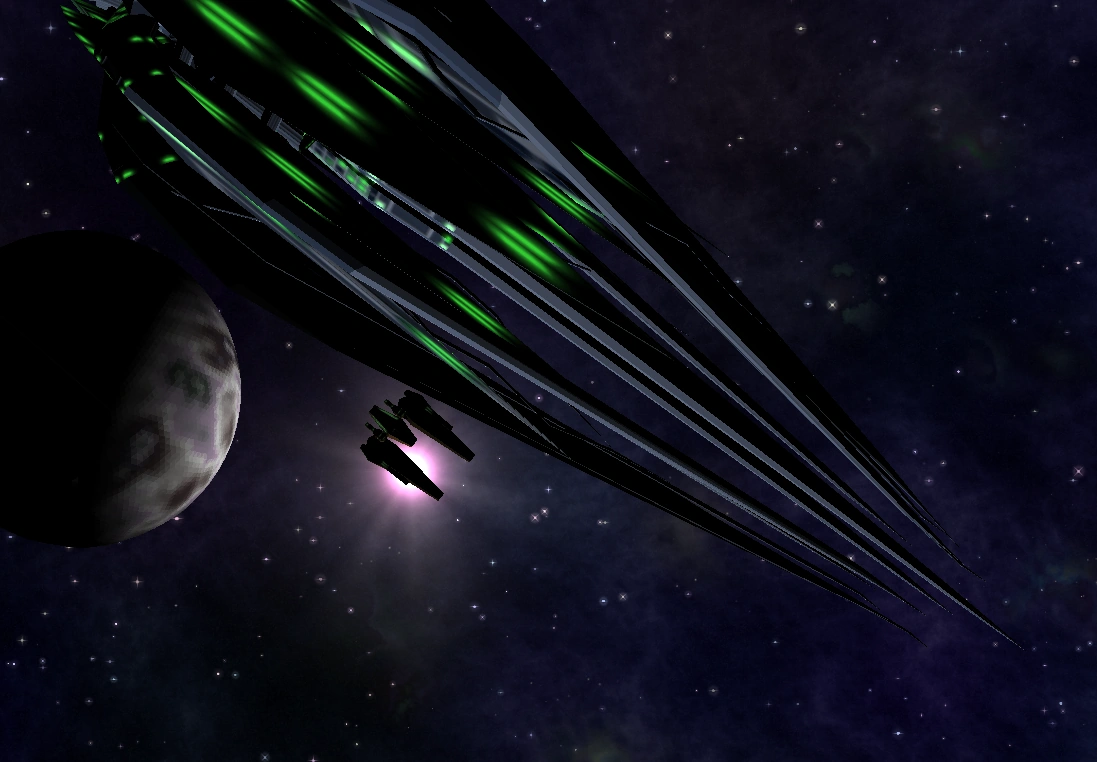
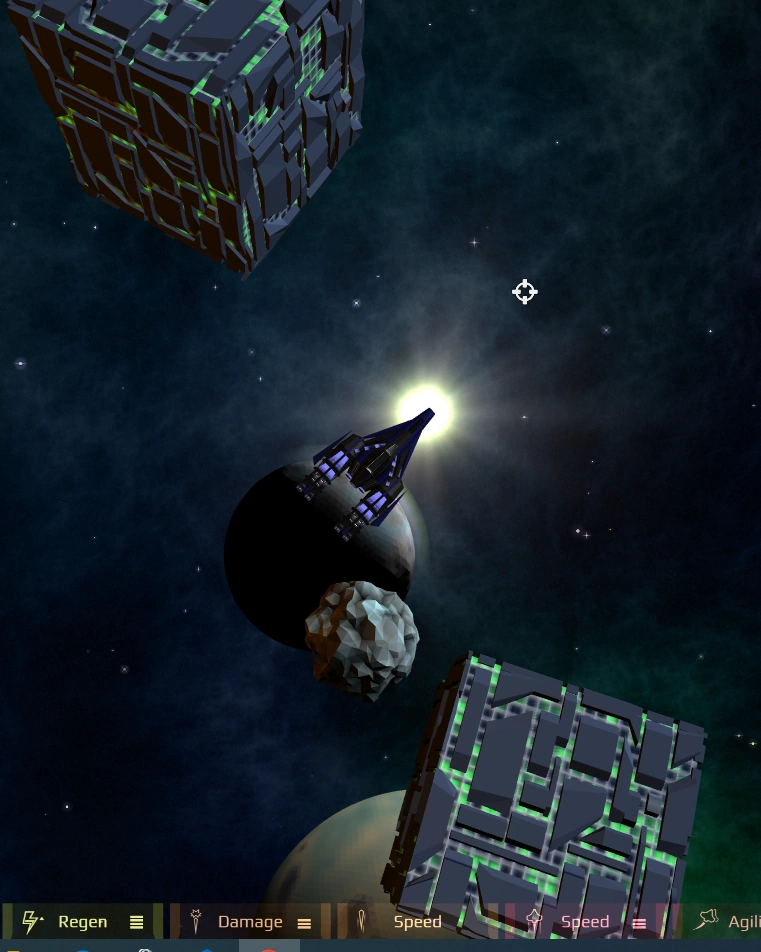
Background Spawns
- Several of the non-interactive background ships and stations that can spawn in U-Series games